Commercial vs Consumer TVs for Business Use
Commercial displays vs consumer TVs for business: duty cycle, brightness, warranty, remote management and total cost, with when a consumer TV is fine.

How to mount business displays safely: VESA patterns and screws, mount types, wall fixings, mounting height, ventilation, cables, portrait mode and safety.
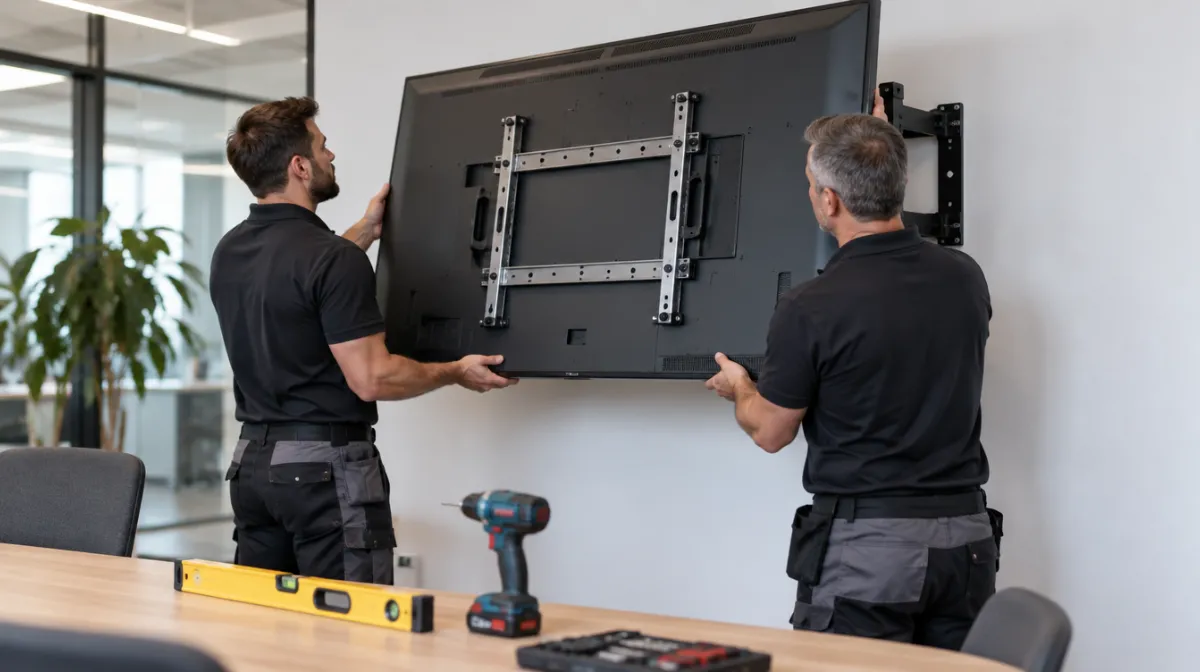
Mounting a business display safely comes down to four things: a mount that matches the screen’s VESA pattern and weight, the right fixings for the wall, a sensible height and viewing angle, and good planning for power, data and ventilation. Most displays use the VESA Mounting Interface Standard, a grid of threaded holes on the back measured in millimetres, so compatible mounts are easy to find. For large, heavy or public-facing screens, use a professional installer.
The VESA pattern is written as horizontal × vertical distance between the mounting holes, in millimetres, such as 400 × 400. Check your display’s manual or spec sheet for the pattern, screw size and maximum screw depth.
| VESA pattern | Typical displays | Common screw size |
|---|---|---|
| 75 × 75 or 100 × 100 | Monitors and small screens | M4 |
| 200 × 200 or 300 × 300 | Mid-size displays, roughly 32 to 55 inches | M6 |
| 400 × 400 or 600 × 400 | Larger displays, roughly 55 to 75 inches | M6 or M8 |
| 800 × 400 and above | Large-format displays | M8 |
Patterns and screws vary by model, so always confirm. Use the screw length specified; screws that are too long can damage the display.
| Mount | Best for | Notes |
|---|---|---|
| Fixed (flat) | Signage, menu boards, lobbies | Slimmest profile, most secure |
| Tilting | Screens mounted above eye level | Reduces glare and improves the viewing angle |
| Full-motion (articulating) | Meeting rooms, flexible spaces | Heavier load on the wall; check the extension weight rating |
| Video wall mounts | Multi-screen LCD walls | Micro-adjustment and pop-out for service |
| Portrait mounts | Vertical signage | Check the display supports portrait use |
| Ceiling mounts | Airports, retail, overhead signage | Needs structural fixing and professional installation |
| Floor stands and trolleys | Temporary or mobile use | No wall fixing; check stability and wheel locks |
| Recessed or enclosure mounts | Kiosks, public areas | Protection and a flush finish; plan ventilation carefully |
Choose a mount rated comfortably above the display’s weight, and follow the mount manufacturer’s fixing instructions. If in doubt, ask a structural engineer or experienced installer.
In public corridors, consider how far the screen projects from the wall. In the US, ADA standards limit how far wall-mounted objects can protrude into walkways at certain heights (4 inches for objects between 27 and 80 inches above the floor), and UK guidance on accessible design raises similar points.
Displays need airflow. Leave the gaps the manufacturer specifies, avoid sealing screens into tight alcoves and plan cooling for enclosures, windows and hot environments. Heat shortens a display’s life and can void warranties. High-brightness window screens run especially warm; see window display brightness.
Not every display is designed for portrait use, and some specify which way to rotate the screen so vents stay at the top. Check the manual before ordering portrait mounts, and choose a panel type with good viewing angles; see IPS vs VA vs TN.
Check the manual or spec sheet, or measure the distance between the mounting holes on the back horizontally and vertically, in millimetres.
Not on plasterboard alone. Fix into studs, masonry or a suitable backing board, using fixings rated for the load.
High enough that viewers at the back can see over those in front, often with the bottom of the screen around seated head height, while keeping the top within a comfortable viewing angle for the front row.
Every article is edited by a human and checked against our editorial policy. Spotted a mistake? Tell us.
Commercial displays vs consumer TVs for business: duty cycle, brightness, warranty, remote management and total cost, with when a consumer TV is fine.
How to buy a video wall: LCD vs direct-view LED, bezel width, resolution and pixel pitch, controllers, mounting, content and the total costs to budget for.
How to choose office monitors: size and resolution, panel types, USB-C docking, ergonomics and eye comfort, multi-monitor setups and buying for a whole team.